If you’ve written with a pencil, you’ve certainly used an eraser. But have you ever wondered how it works or how it was developed? It’s a pretty interesting story. Read on to learn five fun facts about erasers!

Friction is Key
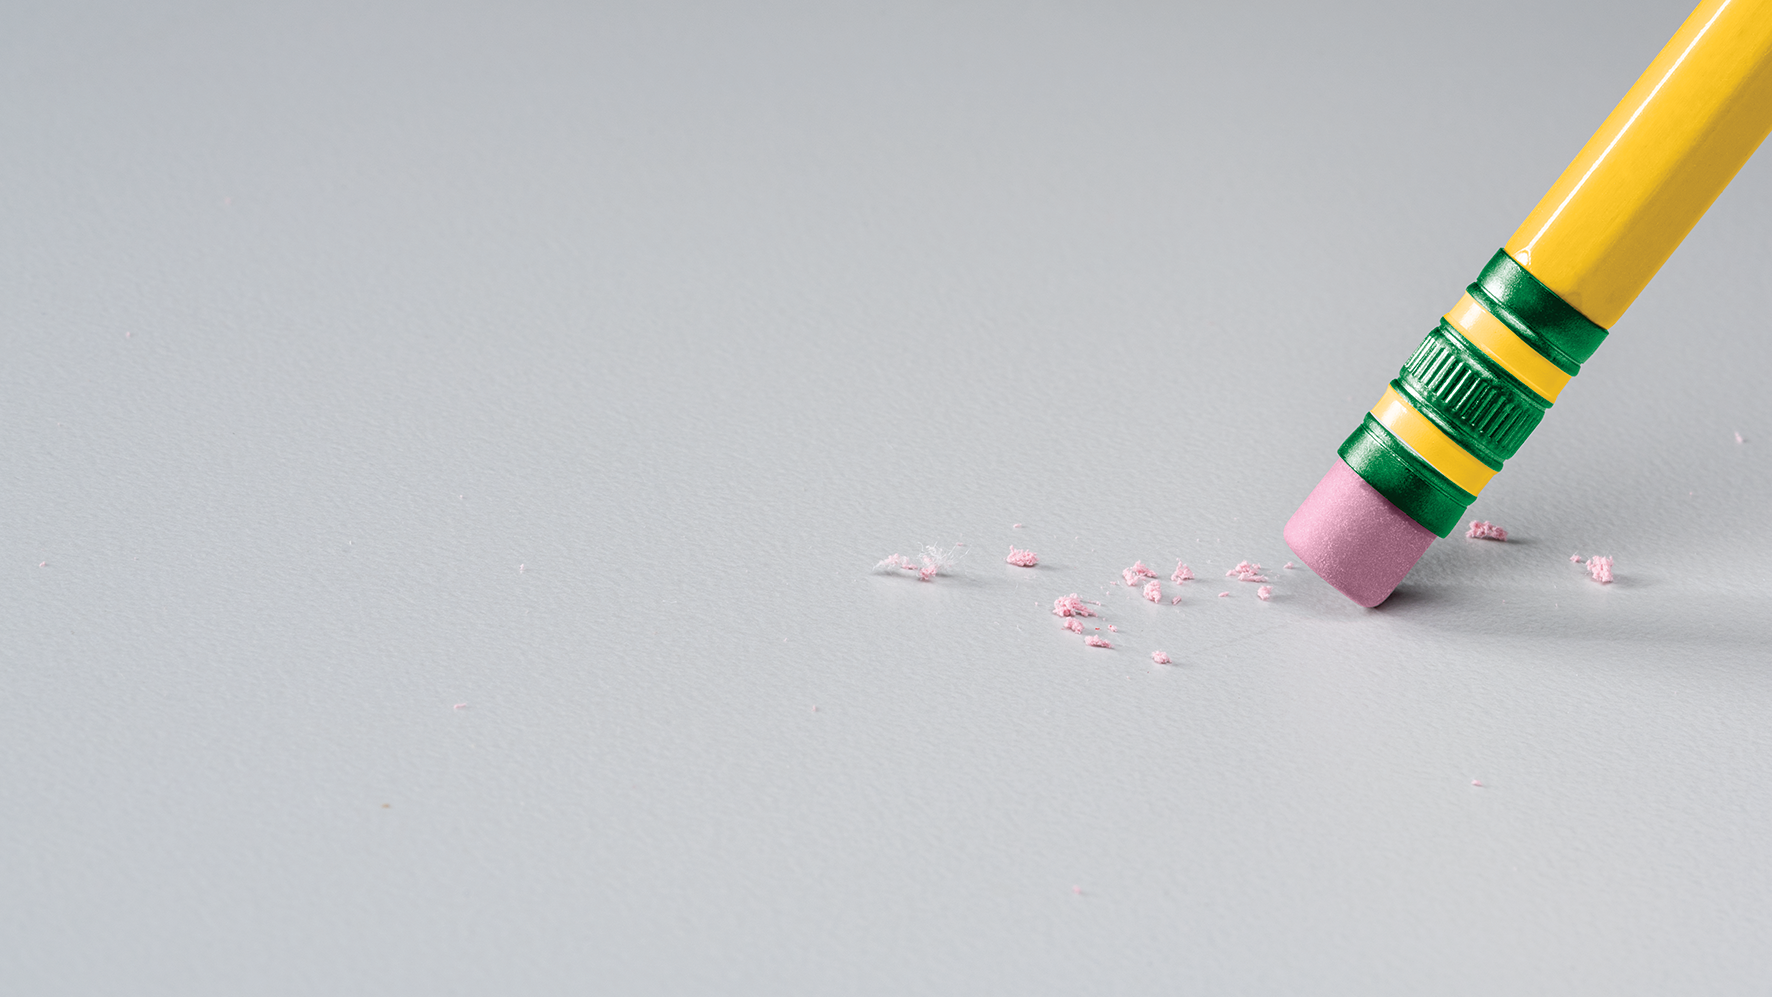
When you write with a pencil, a small amount of graphite rubs off the pencil and sticks to the paper. Erasers work by essentially reversing that process. When you rub an eraser against a piece of paper, the friction causes it to heat up slightly. This heat and friction cause the eraser to be ‘stickier’ than the paper; thus, graphite sticks to the eraser, leaving the paper clean.
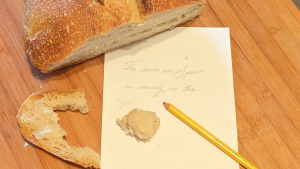
It Began with Bread
No, really. Long before we had the highly efficient ultra-durable erasers of today we had… moist bread. Even before the pencil was invented, writers and artists who used graphite discovered they could erase mistakes by rubbing a bit of bread against the page. The bread itself would be slightly moistened and then rolled into a ball, more or less resembling the erasers we use today. It worked, technically, but it was a rather crumby experience (*ba-dum-tss*).
Write On with RubberThen one day, in the late 18th century, everything changed. A British engineer by the name of Edward Nairne went to erase something he had been working on when – quite accidently – he grabbed a bit of rubber instead of his trusty bread-wad. Lo and behold, the rubber worked far better than the bread! Business senses tingling, he began selling the new rubber erasers soon thereafter.
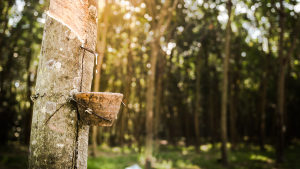
Losing the Latex
Nairne’s natural rubber erasers were made from latex, a material that comes from certain trees. Unfortunately, many people are allergic to latex. Plus, deriving the latex-based erasers were expensive to produce. Thus, there lay the motivation to develop a more perfect eraser – one that would be safe and inexpensive for all. And eventually, the latex-free synthetic rubber eraser we know today was born.
The Team-Up with Ticonderoga
It’s only fitting that The World’s Best Pencil would have a pretty awesome eraser — and it does! Ticonderoga erasers are soft, latex-free, and engineered to leave you with a clear, smudge-free page every time you use it. They’re even certified non-toxic by the Pencil Makers Association (PMA) for both immediate and long-term use. Plus, Ticonderoga goes the extra mile with the erasers attached directly to our pencils. Instead of just using the ferrule (the metal bit) to hold the eraser in place, we glue the erasers into our signature green ferrule, so they’ll stay put through rigorous…editing. That makes Ticonderoga pencils and their erasers a perfect match.
In addition to quality erasers ON our pencils, we have a complete line of erasers for you to choose from for extra removal if needed.
 |
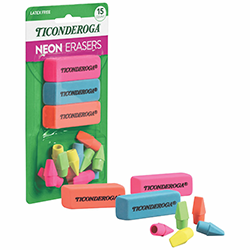 |
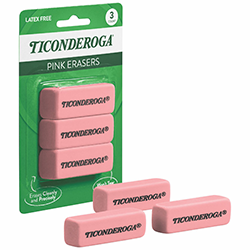
| Classic Pink Erasers | Neon Erasers |
| The very best choice for home, school or office. | Same high quality with a little extra fun. Colors match our Neon pencils. |
| Learn More
|
Learn More
|
 |
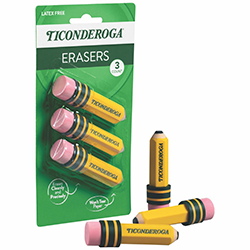 |
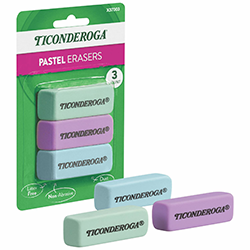
| Pastel Erasers | Pencil-Shaped Erasers |
| Same high quality with a touch of style. Colors match our Pastel pencils. | Kids’ favorite! Smudge free erasers in a fun pencil shape. |
| Learn More
|
Learn More
|
Shop Ticonderoga Erasers on Amazon